Fruit Prep, Start to Finish: Washing, Cutting, and Keeping It Fresh
Preparing fresh fruit without the brown, watery mess: how to wash it, the cuts worth learning, and how far ahead you can safely prep for the week.
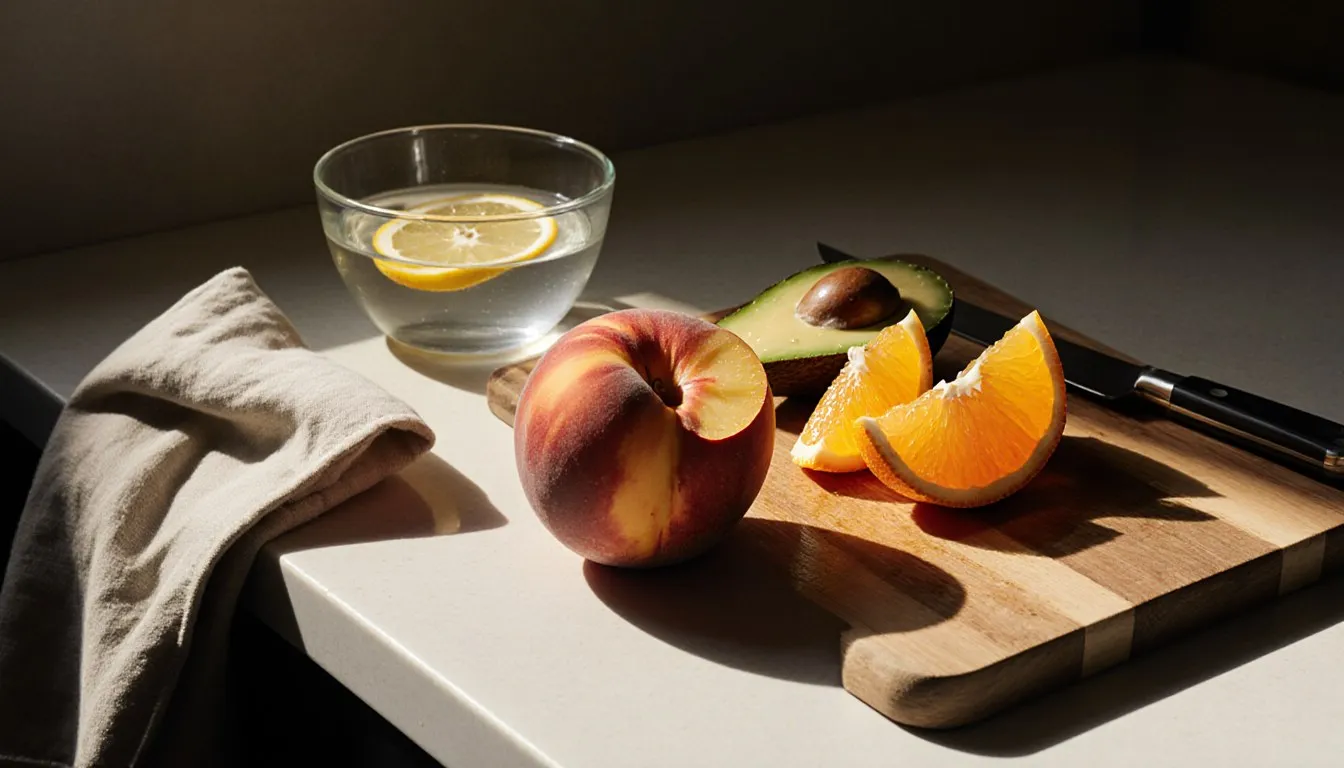
Wash fruit before you cut it, never after, and everything downstream gets easier. A knife blade drags whatever is sitting on the skin straight into the flesh, so a rinse after cutting is closing the barn door. That one habit, plus a bowl of lemon water and a paper towel in the storage container, is most of what separates a gorgeous Sunday fruit platter from the sad brown one nobody touches.
Fruit is soft, sugary, and full of delicate cell walls, and it goes to the table raw, so every mistake stays visible on the plate. A ragged melon cube, a bruised strawberry, a slice of apple that browned while you finished cutting the rest of the bowl: there is no roasting pan coming along afterward to hide any of it. The fruit also keeps changing while it waits, shedding water, softening at the cut edges, and browning on its own schedule. Below: how to wash each kind, the four cuts worth learning, why cut fruit goes brown, and how far ahead you can prep for a party or a week of lunches.
Should you wash fruit before or after you cut it?
Before. Always before, under cold running water, right at the point you are going to use it. Cutting first means the blade pulls surface bacteria, dirt, and whatever the produce bin collected on its journey down into the flesh, where no amount of rinsing gets it back out.
You do not need soap. You do not need a produce wash, a vinegar soak, or a baking soda bath. Federal food safety guidance is consistent on this: plain cold running water plus friction from your hand or a brush is what to use, and soap and detergents are specifically not recommended because porous fruit absorbs residue you then eat. Skip the bottled produce sprays altogether. Your hands and the tap are the whole system.
Two details cooks get backwards. Cold water, not warm: warm water on cold fruit can actually pull water and whatever is in it into the flesh through the stem end. And dry the fruit after washing, with a clean towel or a spin in a salad spinner for berries, because surface moisture is what turns cut fruit watery in a container and speeds up spoilage in the fridge.
Bagged fruit already labeled “washed” or “ready to eat” does not need a second wash. Rewashing it in a home sink is more likely to introduce something than remove it.
What’s the right way to wash different kinds of fruit?
The method changes with the skin. Three categories cover almost everything in a grocery haul.
Firm fruit with edible skin: apples, pears, plums, nectarines, grapes. Hold them under cold running water and rub the surface with your hands for about twenty seconds each, the way you would wash your own hands. Apples especially benefit from real friction because of the waxy coating; a clean vegetable brush is fine on them. Grapes get pulled off the stems into a colander and shaken under the tap, then spread on a towel.
Soft berries: strawberries, raspberries, blackberries, blueberries. Rinse these right before you eat or serve them, not before you store them. Moisture is what makes raspberries collapse into fuzz within a day. Put them in a colander, run cold water over gently for a few seconds, and lay them on a paper-towel-lined sheet pan to dry. Never let berries sit and soak; they take on water and lose flavor. If you bought strawberries on Saturday and want them Wednesday, they go into the fridge unwashed, in a container with the lid cracked, and get their rinse the minute before they hit the bowl.
Rinded fruit you don’t eat the skin of: cantaloupe, honeydew, watermelon, pineapple, winter squash-adjacent oddities. This is the one people skip, and it is the one that matters most. Scrub the outside with a clean produce brush under running water even though you are throwing the rind away, because the knife travels across that rind and into the part you serve. Cantaloupe’s netted skin is genuinely good at holding onto bacteria, which is exactly why melon shows up in outbreak reports more than its share. Scrub, dry, then cut.
Citrus follows the same logic any time you are zesting or dropping a wheel into a drink: the peel goes into the food, so it gets scrubbed. Soaks, vinegar solutions, and whether any of the commercial sprays earn their shelf space all live in the guide to a fruit and vegetable wash.
How do you cut a mango, peach, or other stone fruit without a fight?
Stop trying to cut through the middle. Every stone fruit has a flat pit with a predictable orientation, and the whole technique is slicing the two big cheeks off either side of it.
Mango: stand it on end, stem up, with the narrow edge facing you. The pit is a flat oval running vertically through the center, wider than you think. Slice down about a quarter inch off center, then repeat on the other side. You get two fat cheeks and a middle section with the pit. Score the flesh of each cheek in a crosshatch, cutting down to but not through the skin, then push the skin from underneath to turn the cheek inside out. The cubes pop up like a hedgehog and come off with a knife or a spoon. Trim the two thin strips of flesh still clinging to the pit standing over the sink, and eat them yourself. Cook’s privilege.
Peaches, nectarines, plums, apricots: find the seam, that shallow line running pole to pole. Cut all the way around it down to the pit, then twist the two halves in opposite directions. Freestone fruit separates cleanly. Clingstone will not, no matter how much you swear at it, so switch to the cheek method and slice down either side of the pit instead. Ripeness decides this more than variety does, so let the fruit tell you after the first cut.
For peeling peaches, a quick blanch is the honest answer: score a shallow X on the bottom, drop them into boiling water for about thirty to sixty seconds until the skin at the X starts to loosen, then straight into ice water. The skins slip off with your thumbs. Underripe peaches will refuse to cooperate no matter how long you leave them in the pot, so give them two days on the counter and try again.
Avocado is technically a fruit and gets its own note. Halve it lengthwise around the pit, twist the halves apart, and get the pit out with a spoon rather than whacking it with the knife heel. That knife-strike trick is how a startling number of people end up in urgent care with a tendon injury; the emergency medicine world has a nickname for it. Then either scoop the flesh out with a spoon or score and peel. Cut avocado is the most enthusiastic browner in the produce aisle, so it wants citrus the second it is open.
What’s the cleanest way to segment an orange or grapefruit?
Supreming: you cut off the peel and every scrap of pith, then slice each segment free from the membranes that hold it. What you get is naked citrus, no bitter white, no chewy skin, and it makes a salad or a platter look like somebody cared.
The sequence, on a board with a sharp paring knife:
- Slice a flat disc off the top and the bottom, deep enough to see the flesh. Now the fruit stands up and stops rolling.
- Set it on one flat end. Follow the curve of the fruit downward with the knife, taking off peel and pith in wide strips. Go slightly deeper than feels right. A little wasted flesh beats leaving pith, which is the bitter part.
- Go back and shave off any white patches you missed. The fruit should look glossy and translucent all over.
- Hold the fruit in your palm over a bowl. Cut just inside each membrane wall on both sides of a segment, and it falls out free. Work your way around the whole fruit.
- When you have got the segments out, squeeze the leftover membrane core hard over the bowl. That juice is the vinaigrette, or the drink, or it goes over the segments to keep them bright.
Do this over the bowl, not over the board, or the juice ends up on your counter and in your sleeve. Grapefruit and pomelo, with their thick pith, are the fruits where supreming pays the biggest dividend. Small mandarins are not worth it; peel them with your thumbs and move on.
Segments hold beautifully. Sitting in their own juice in a sealed container, they will keep for a few days refrigerated, and citrus is one of the rare cut fruits that does not brown, so it is the workhorse of any make-ahead platter.
How do you cut a melon or pineapple safely?
The whole game is refusing to cut a round thing while it is still round. Anything that rolls will eventually roll at the exact moment your knife is moving, and a big knife on a wobbling melon is the most common way people get hurt in a home kitchen doing something that looks perfectly innocent.
So: scrub the rind, dry it, then cut a slice off one end to make a flat base. Stand the fruit on that base. Now it is a stable object and everything after is straightforward.
For a melon, cut it in half through the stem end, scoop the seeds out of cantaloupe and honeydew with a spoon, then lay each half cut-side down and cut into wedges. Run your knife along the inside of the rind to free the flesh in one piece, or cut the wedge into chunks and slice them off the rind at the end. Keep your knuckles curled and the blade traveling away from your holding hand, always. Watermelon comes seedless in most stores now, so it just gets planked and cubed.
Pineapple wants its crown and base cut off first, then stood upright while you cut the skin away in vertical strips, following the curve. The little brown eyes left behind get removed in diagonal grooves, cutting a shallow V along each spiral row. Then quarter it lengthwise and slice the tough core out of each quarter. If pineapple is your particular nemesis, the step-by-step on how to core a pineapple goes deeper than this section can.
A safety note that costs nothing: get cut melon into the fridge within two hours of cutting it, one hour if the kitchen or the picnic table is above 90°F. Cut melon is a low-acid, high-moisture food, which is a polite way of saying bacteria find it hospitable. That is why it is on the list of foods that need refrigeration once cut, and why the platter that sat out all afternoon at the barbecue should be thrown away rather than wrapped up and saved.
Why does cut fruit turn brown, and how do you stop it?
Cutting the fruit breaks open its cells, which lets enzymes inside meet oxygen in the air, and the reaction leaves behind brown pigment. Cooks call it oxidation or enzymatic browning. Browning is cosmetic all the way down. A brown apple slice is perfectly safe to eat, it just looks like it has had a hard week.
The fix is acid, which slows those enzymes down. Two ways to apply it:
- Acidulated water, for volume. Squeeze the juice of one lemon into about four cups of cold water and drop the fruit in as you cut. Leave it two to five minutes, no longer, then drain well and pat dry. Any longer and the fruit starts tasting like lemonade and going soft at the edges.
- A direct squeeze, for a few pieces. Toss cut apple or pear with a tablespoon of lemon juice per two or three pieces of fruit, or lay avocado halves cut-side down against a squeeze of lime. Pineapple or orange juice works too and tastes friendlier in a fruit salad, since a mix of citrus and pineapple in the bowl protects everything else in there.
Which fruits need it: apples, pears, bananas, avocado, peaches and nectarines to a lesser degree, and any of the tropical fruits with pale flesh. Which do not: berries, citrus, melon, grapes, pineapple, mango, kiwi. They are either acidic enough already or short on the enzyme, so save yourself the step and the lemons.
The trick I use for lunchboxes is simpler than any of that. Slice the apple, then snap the slices back together into an apple shape and put a rubber band around it. Almost no surface is touching air, and it opens at noon looking like you cut it at noon. My kids rolled their eyes at this for years and now they do it themselves, so.
Cold air helps too, since the enzyme slows down at fridge temperature. Salt water is an old restaurant approach and it works, but the fruit tastes faintly of salt afterward, so it is not one I reach for at home.
Can you prep fruit ahead of time for a party or the week’s lunches?
Yes, with a container strategy and honest expectations about which fruits survive the wait. Prepping fruit ahead is entirely doable, but “ahead” means different things to a pineapple and a raspberry.
What holds up well, cut a day or two in advance: pineapple, citrus segments, apples treated with acid, grapes (just pulled from stems), firm pears, and mango. What holds up for roughly a day: melon, kiwi, peaches, cubed banana (which will still brown a bit no matter what you do to it). What you should cut the same day, ideally within a few hours: strawberries, raspberries, blackberries, and anything you have already dressed or sugared, since sugar pulls water out of the fruit and the whole bowl turns into syrup.
The storage setup that makes the difference:
- Airtight, and don’t overpack. A container with air whistling through it dries fruit out; a container crammed to the lid crushes the bottom layer. Glass over plastic, if you have it, because it does not hold onto smells.
- A folded paper towel on top of the fruit or lining the bottom. Condensation collects on it instead of pooling around your strawberries. Swap it out if it gets soaked. This is the single trick that keeps a make-ahead bowl from going watery.
- Store the wet stuff separately. Melon and pineapple release juice, and that juice will waterlog anything sharing a container. Keep them in their own container and combine at serving time.
- Berries stay whole and unwashed until the last minute. Hull strawberries just before serving; a hulled berry starts weeping immediately.
For a party, the practical sequence is: cut everything but the berries and the melon the day before, keep it separate and cold, and then do the last twenty minutes of assembly the day of. For the week’s lunches, portion into individual containers on Sunday instead of one big tub, since every time you open a large container and dig around, you warm the whole thing and hand everything in there a little more air. Five small lids beat one big one, and a container you open once on Tuesday stays in better shape than one you dig through every morning.
How long does cut fruit keep in the fridge?
Three to four days in a sealed container at 40°F (4°C) or below is the conservative standard, and it is the one I would hold to. Some fruits will look fine longer; the number is about safety, not appearance.
Within that window, real life is shorter for the soft ones:
- Cut melon: three to four days at most, and it starts smelling faintly fermented before it looks wrong. Trust your nose here.
- Berries, washed: a day or two. Washed berries are on a clock. Unwashed and whole, they will go longer.
- Cut pineapple and citrus segments: the sturdiest of the group, comfortable through the full three or four days.
- Apple and pear slices: three or four days if they were acid-treated and stayed sealed, though the texture goes slightly mealy after day two.
- Cut banana and avocado: same day. Treat everything else as optimism.
The two-hour rule applies to all of it: cut fruit left at room temperature for more than two hours (one hour above 90°F) goes in the bin, and no amount of it looking fine changes that. Fruit that has gone slimy, grown any fuzz, or smells sour or alcoholic gets thrown out too. Do not cut around mold on soft fruit, because on high-moisture foods the parts you cannot see have already been reached; toss the whole piece. On firm produce, cutting an inch around and below a mold spot is the accepted approach, but soft fruit does not qualify.
Freezing buys you months instead of days. Spread cut fruit in a single layer on a sheet pan, freeze it solid, then bag it. Freezing whole ruptures the cell walls, so it comes out soft, which is why frozen fruit belongs in smoothies, compotes, and baking rather than back on a platter.
What tools are worth having for fruit prep?
Less than the catalogs would like you to believe. Three things earn their drawer space, and one of them is optional.
A sharp paring knife. This is ninety percent of fruit prep and the one place worth spending. A dull knife crushes fruit cells instead of slicing them, which is why bruised, weeping melon usually means a dull blade rather than a bad melon. It is also more dangerous, because a dull edge skids off skin instead of biting in. Sharpen it, or take it somewhere that will.
A chef’s knife with some length to it. For halving melons and pineapple, a blade that spans the fruit in one motion is safer than sawing partway through with something short.
A vegetable brush. A few dollars, lives by the sink, and it is what makes scrubbing a cantaloupe rind realistic instead of theoretical.
Genuinely optional: a melon baller, if you make garnishes or fruit cups often enough to care (it also scoops seeds out of a melon half faster than a spoon). A citrus knife with its curved blade, only if you segment grapefruit regularly. An apple corer-slicer, which is unnecessary for one apple and a small mercy when you are packing five lunches. What I would skip: strawberry hullers (a paring knife tip does it), banana slicers, and anything sold as a mango pitter, since the cheek method needs no equipment at all.
A cutting board rule worth keeping: fruit gets its own board, or at least a board that has not just had raw chicken on it. Most cut fruit is served without cooking, so it never gets a heat step to fix a cross-contamination mistake. That is the same reason the melon rind gets scrubbed.
Once fruit prep stops being a chore, the next step is doing something with the trimmings. Peach and mango skins, citrus membranes, and pineapple cores all steep into a decent syrup: cover with equal parts sugar and water, simmer ten minutes, strain, and keep it in a jar for iced tea, lemonade, or a cocktail. It costs nothing, since you already paid for it once.
Tessa Calloway
Staff Writer
Tessa Calloway has spent twenty years cooking dinner on a weeknight clock and testing the shortcuts that survive contact with a real kitchen. She believes the best recipe is the one you can make with what's already in the house, and she has strong opinions about what actually needs to be homemade (less than you think) and what always does (dressing).