The Bread Recipes to Bake First, Second, and Once You’re Confident
The bread recipes worth keeping, sorted by method: kneaded, no-knead, enriched, lean, and whole grain, with the one thing that trips people up on each.
Bake a plain kneaded sandwich loaf first, a no-knead boule second, and enriched dough once you trust your hands. That order is not sentimental. Each one teaches the skill the next one assumes you already have, which is why people who start with brioche because it looked gorgeous end up with a greasy brick and decide they are “not bread people.”
I keep about eight bread recipes in real rotation, and they sort neatly by what your hands are actually doing: kneading or not, enriched or lean, yeasted or not. Below is the roster, in the order I’d hand it to someone standing in my kitchen, with the specific thing that goes wrong on each one and how you catch it before the oven does.
What Makes a Bread Recipe Worth Keeping?
A recipe earns a spot when it tells you what the dough should feel like, not just how many minutes to mix it. That is the whole test. “Knead 8 to 10 minutes” is useless on its own, because a stand mixer, a stiff wrist, and a warm kitchen all get there at different speeds. “Knead until the dough is smooth, slightly tacky but not sticky, and springs back slowly when you poke it” is instruction you can actually follow.
The failed loaves I get asked to diagnose almost always trace back to a recipe line that never said what the dough should feel like. Somebody added flour until the dough stopped sticking, because nothing told them tacky was the target, and they built a loaf with the crumb of a paperback novel.
Here’s what I look for before I bother making a recipe twice:
- Weights in grams, or at least a stated flour-to-water relationship. Volume measuring for flour swings wildly depending on how you scoop.
- A description of the dough at every stage: after mixing, after the first rise, after shaping.
- Doneness by internal temperature or sound, with the clock as a range rather than a promise.
- A note on what to do if the dough is too wet or too dry, because your flour and my flour are not the same flour.
- Salt in a sane proportion, roughly 1.5 to 2 percent of the flour weight. Recipes that skimp here produce bread that tastes like nothing, and people blame the yeast.
One more thing worth settling before you start: yeast type. Instant yeast goes straight into the flour and moves faster. Active dry has traditionally been dissolved in warm liquid first, and while modern active dry doesn’t strictly require it, proofing is still a free confidence check. If it doesn’t foam within about ten minutes, the yeast is dead and you just saved yourself five cups of flour. Keep the liquid warm rather than hot; water above roughly 130°F (54°C) starts killing yeast outright.
The swap itself is easy peasy. Use about three quarters as much instant, so a teaspoon of active dry becomes a scant three quarters of a teaspoon of instant.
What you give up: the rises come in shorter, often by a quarter or so, and the bread loses a little of the tangy, slightly fermented flavor that a slower start builds.
The one place I would not make the trade is a recipe built around a long cold overnight ferment. Instant gets moving fast enough there to push the dough past its peak before your schedule catches up to it.
The One Loaf Every Beginner Should Bake First
A basic kneaded white sandwich loaf, baked in a standard loaf pan. It is the least glamorous bread in this entire article and the only one I insist on.
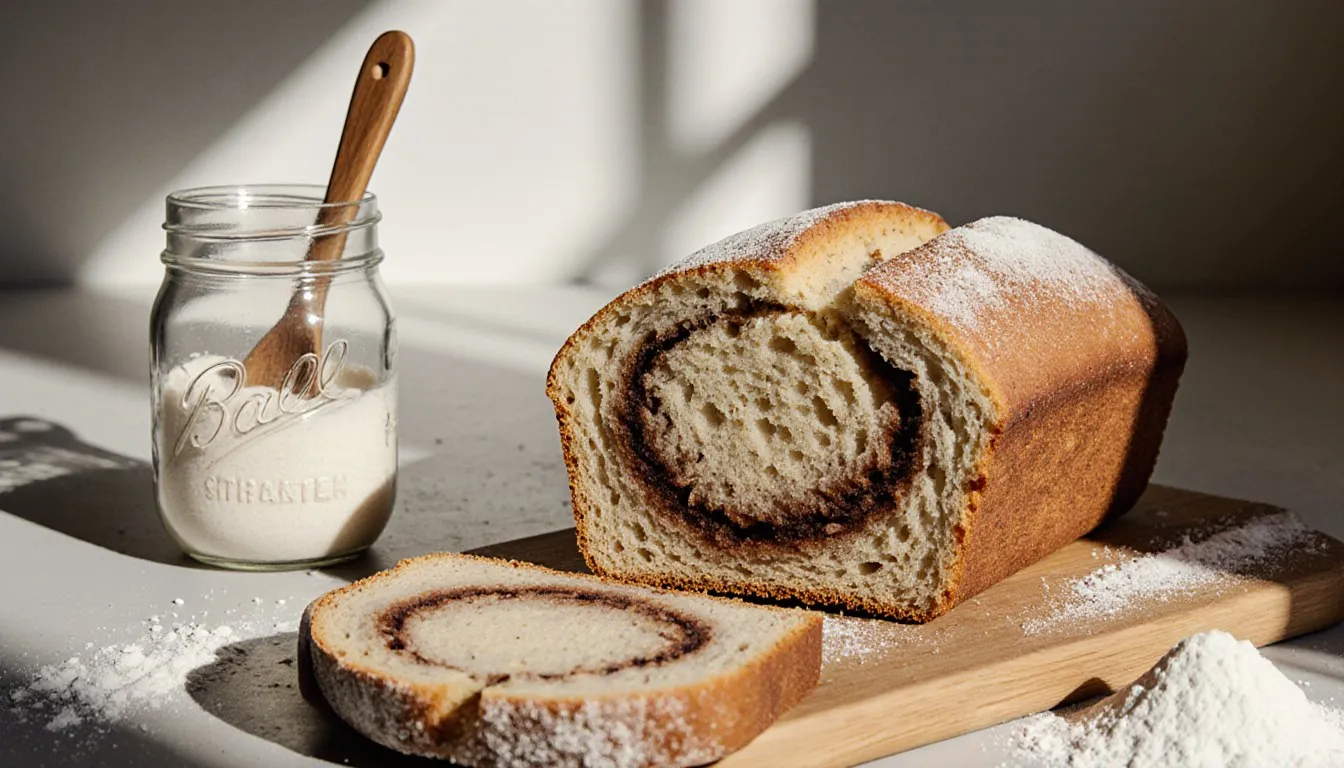
The reason is gluten. A soft, kneadable dough at moderate hydration is the clearest possible teacher for what developed gluten feels like, and nearly every other yeasted loaf you will ever make depends on you knowing that feel. The dough starts shaggy and tearing. Somewhere in the kneading it turns satiny and starts pushing back against your palm. Once your hands know that moment, you can make almost anything.
The typical build is flour, water or milk, yeast, salt, a spoonful of sugar, and a little butter or oil. Milk and fat give you a softer crumb and a tenderer crust, which is exactly what you want on sandwich bread.
Three things trip people up here:
- Adding flour during kneading. Sticky dough at minute two is normal. It becomes manageable as the gluten develops. Resist the flour jar for a full five minutes before you add so much as a tablespoon.
- Over-proofing the shaped loaf. The second rise is done when the dough crests the pan rim by an inch or so and a floured fingertip leaves a dent that fills back in slowly. A dent that stays put means you waited too long and the loaf will collapse in the oven.
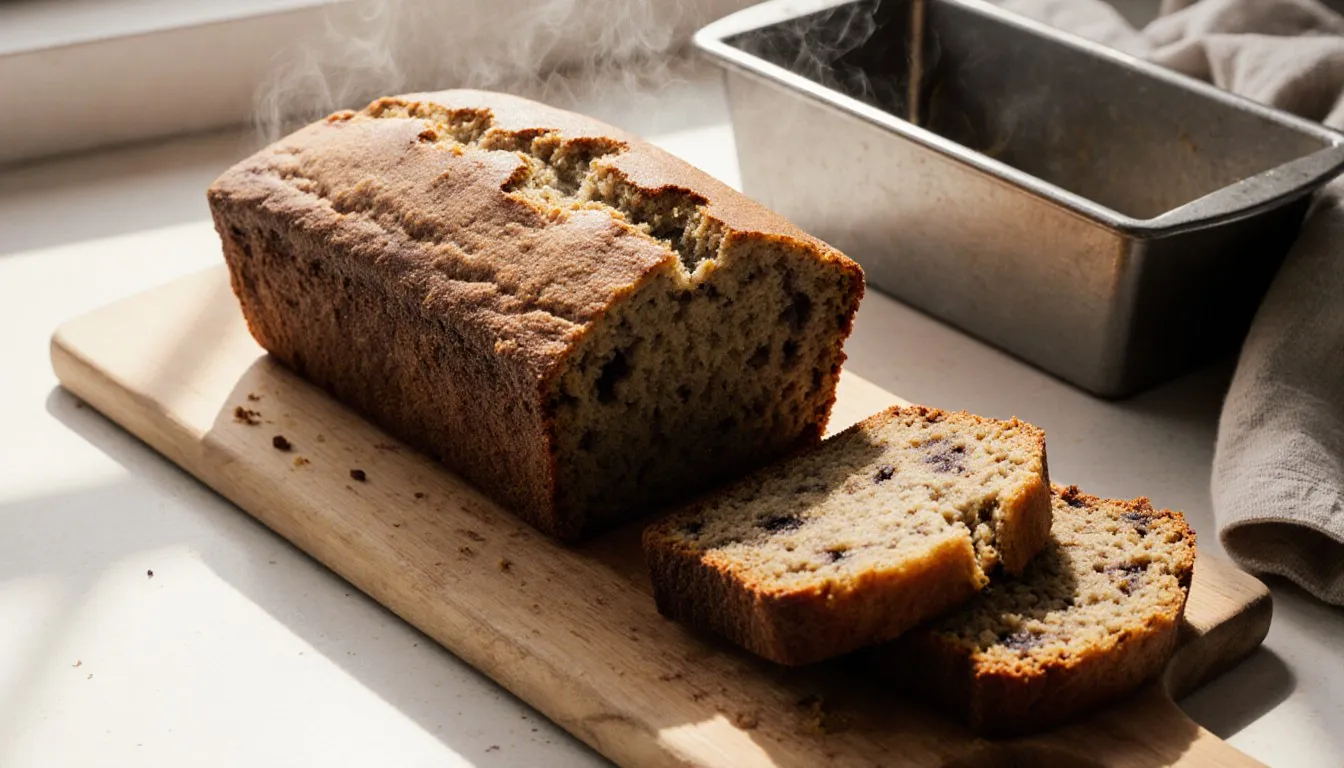
- Slicing it hot. The crumb is still setting. Give it at least an hour, tempting as it is.
Bake around 350 to 375°F (175 to 190°C). If the top browns before the middle is done, tent it with foil and keep going. Once you’ve made this loaf three times, you will stop needing recipes for it, which is the actual goal.
No-Knead Bread Recipes: How Little Effort Can You Get Away With?
Almost none, if you’re willing to trade your labor for time. The no-knead bread method uses a very wet dough, a tiny amount of yeast, and a long rise (often 12 to 18 hours at room temperature) to let the gluten organize itself while you sleep. Stir it with a spoon, cover the bowl, walk away.
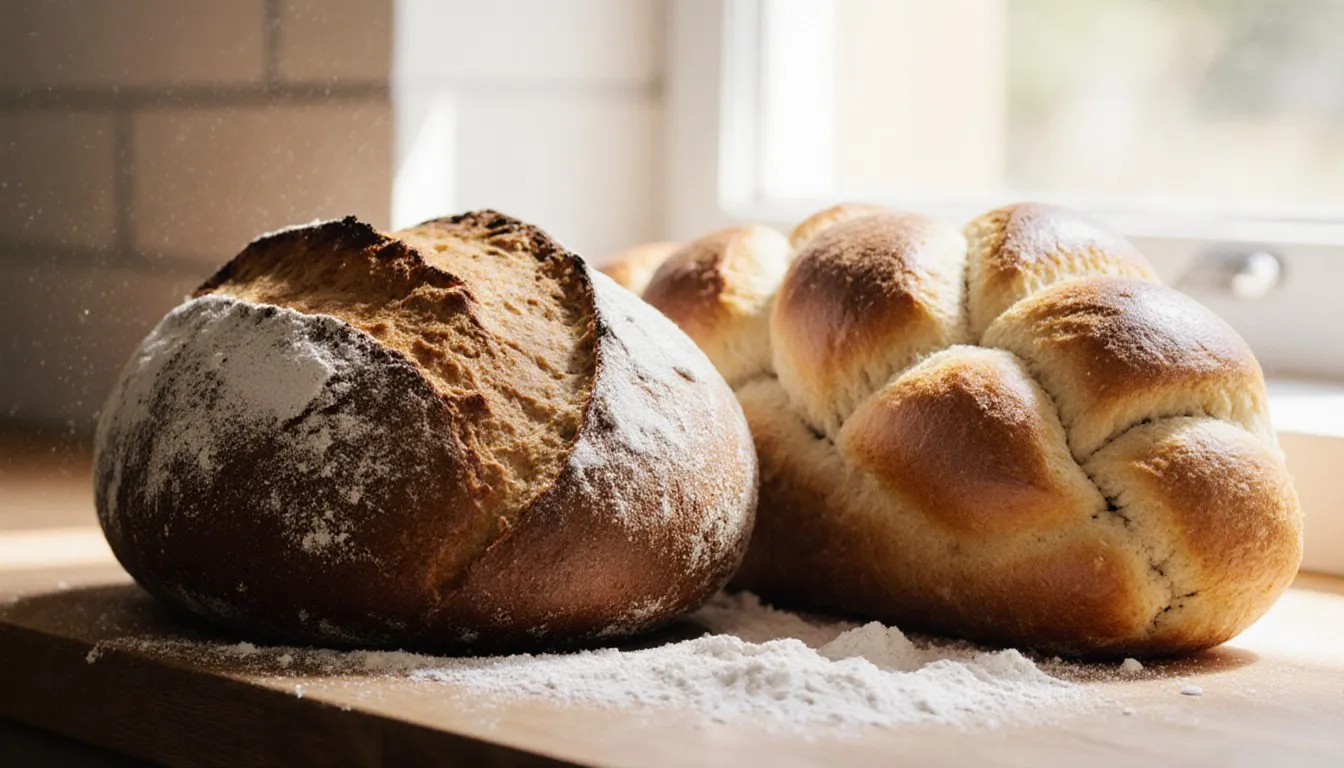
The payoff is a crusty round loaf with big irregular holes and a genuinely good chewy crumb, baked in a preheated covered pot. The pot traps the dough’s own steam, which is what gives you that blistered, crackling crust in a home oven that has no steam injection.
Where it beats kneading: rustic loaves, minimal active time, and forgiveness. Where it doesn’t: anything you want to shape precisely, anything you want to slice thin for sandwiches, and any dough with much butter or egg in it, because fat interferes with the slow lazy gluten development that makes the method work at all.
The trip-up is the dough’s stickiness at shaping. It will feel wrong. Flour your hands and the counter generously, fold the dough over on itself a few times to build tension, and move fast rather than fussing. And preheat the empty covered pot in the oven for a good half hour first, usually around 450°F (230°C). A cold pot gives you a pale, sad crust. Use dry oven mitts, because a damp one on a 450-degree handle will burn you through the fabric before you can set the lid down. Learned that the hard way, more than once.
Enriched Bread Recipes: What Changes When You Add Egg, Butter, or Milk?
Everything slows down and softens up. Fat, egg, milk, and sugar are what turn a lean dough into enriched dough, and they change the rise time, the crumb, the crust, and the browning all at once.
Fat coats the flour proteins and gets in the way of gluten forming, so enriched doughs need longer kneading to reach the same strength. You are kneading toward a dough that looks glossy rather than satiny, tacky enough to cling to your fingers for a second before letting go, and stretchy enough to pull a thin translucent window between your knuckles without tearing.
Sugar and fat both slow the yeast, so the rises take longer than a lean dough’s, sometimes half again as long. Stop watching the clock and press the dough instead: a properly risen enriched dough feels puffy and pillowy, almost like a down cushion, and holds a shallow dent that eases back only partway. If it feels dense and springs straight back, it wants another twenty minutes in a warmer spot. The results are worth it: a fine, tender, pull-apart crumb; a soft thin crust; and deep browning, because milk sugars and egg proteins brown early and enthusiastically.
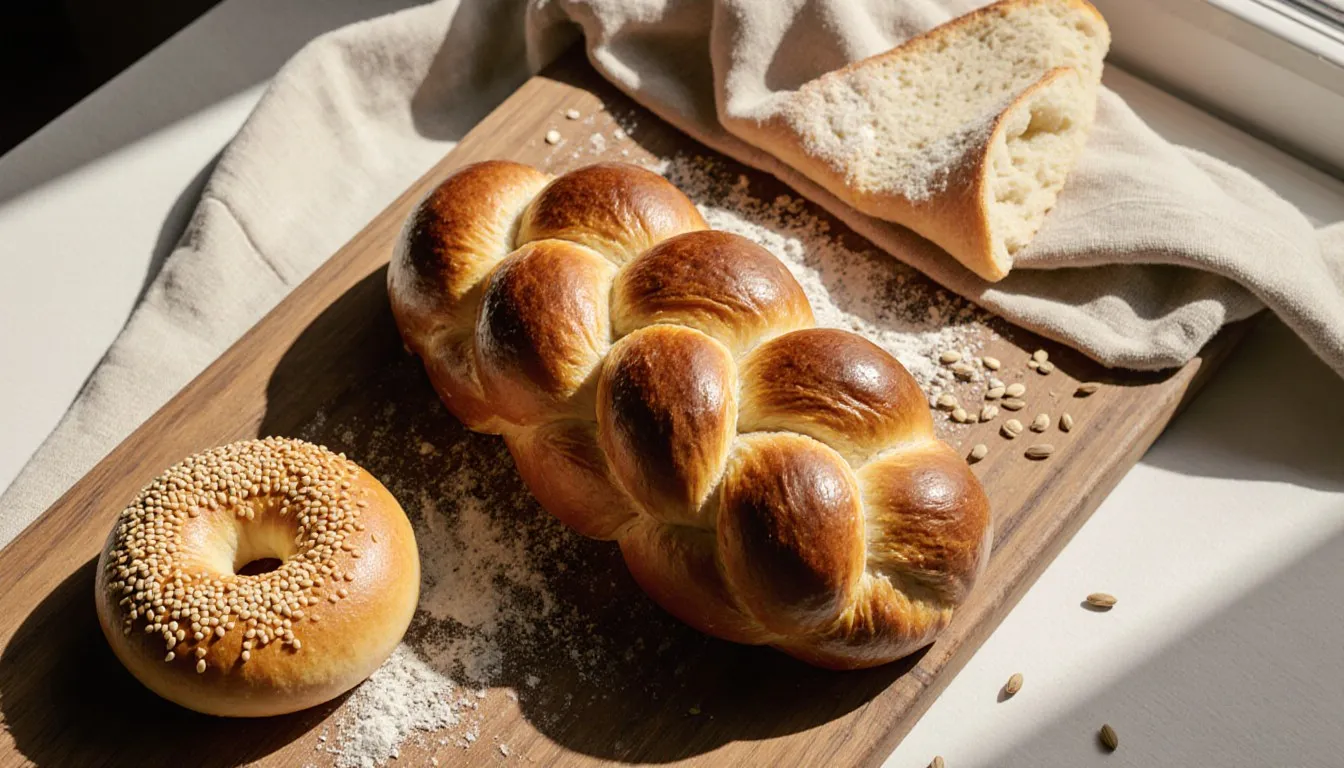
Two recipes cover most of the territory. Soft dinner rolls, with milk, butter, egg, and a modest amount of sugar, are the friendly entry point and reliably the first thing anyone asks you to bring again. Brioche sits at the far end, with enough butter to make the dough behave more like a batter until it comes together. Challah and the other braided Jewish breads live in this family too, egg-rich but butter-shy, and they reward exactly the same patience.
The classic brioche technique is to develop the gluten first with the flour, eggs, and liquid, then add softened butter a piece at a time, waiting for each addition to disappear before the next. Skip that sequencing and dump the butter in early and you get a slick, broken dough that never builds structure. Enriched doughs also handle a cold overnight rise in the fridge beautifully, which firms up the butter and makes a sticky dough suddenly easy to shape in the morning.
- Bake enriched loaves cooler than lean ones, roughly 350°F (175°C), so the sugary crust doesn’t scorch before the center sets.
- An egg wash gives you the glossy lacquered top. Milk alone gives a softer matte finish.
- Enriched breads stay soft longer than lean ones because the fat slows staling. A dinner roll is still good the next day; a baguette is not.
Lean Bread Recipes: Getting a Real Crust Without Fancy Equipment
Steam plus a hot surface, and you already own both. Lean dough is flour, water, salt, and yeast, full stop. With nothing to soften it, the crust turns thin, crackly, and deeply browned, provided the oven stays damp for the first ten minutes or so.
That damp start matters because steam keeps the outside of the loaf flexible long enough for it to spring up before the crust sets. Skip it and the crust hardens early, the loaf stays squat, and your scoring marks barely open.
Three ways to get steam at home, in order of how well they work for me:
- A preheated covered Dutch oven. Best crust, no fussing, works for any round or oval loaf. Lid off for the last third of the bake to brown it.
- A preheated metal pan on the bottom rack. Slide the loaf in, pour a cup of hot water into the hot pan, shut the door fast. Stand to the side; that first billow of steam is no joke, and never use a glass dish for this.
- An inverted roasting pan over the loaf on a preheated baking steel or stone. Essentially a homemade Dutch oven for baguette shapes.
Bake lean loaves hot, generally 450 to 475°F (230 to 245°C). Score them with a very sharp blade at a shallow angle, one confident stroke rather than several timid ones. And take the color further than feels comfortable. Pale crusty bread tastes like flour; the flavor lives in the browning. My mother used to say bread isn’t done until it looks like it means it, and she was right about that even when she was wrong about other things.
Whole Grain and Multigrain Bread Recipes: Do They Need Different Handling?
Yes, on two counts: more water and more patience. Whole wheat flour includes the bran and germ, and the bran drinks water while its sharp edges physically cut through developing gluten strands. Substitute it one-for-one into a white bread recipe and you will get a dry, tight, crumbly loaf and wonder what you did wrong.
Practical adjustments that solve most of it:
- Add extra liquid, starting with a couple of tablespoons per cup of whole wheat flour, then judge by feel. The dough should be noticeably tackier than a white dough.
- Let the flour and water sit together for 20 to 60 minutes before adding salt and yeast. Bakers have leaned on this rest for generations to soften the bran and make the dough far more cooperative.
- Expect longer rises. Whole grain doughs ferment differently and often need more time to reach the same volume.
- Start with a blend. Half whole wheat, half bread flour gives you real whole grain flavor with a crumb people will actually eat sandwiches on.
Sprouted grain bread plays by the same handling rules with one extra wrinkle, since its flour comes from grain that has already started to wake up and ferments noticeably faster. Multigrain loaves with oats, seeds, or cracked grains have their own rule: soak the add-ins first. Dry oats and seeds pull moisture out of the dough during the rise and leave you with a stiff, mean loaf. A hot-water soak until cooled fixes it entirely.
Whole grain breads are also denser by nature. A tight-ish crumb is the honest outcome, not a failure, and no amount of extra yeast will turn whole wheat into a cloud. If you want the broader tour of how these loaves relate to everything else on the bread shelf, the guide to types of bread lays out the family.
Flatbreads and No-Yeast Options: What If You Don’t Want to Wait on Dough?
Make flatbread. Skillet flatbreads go from bowl to plate in under an hour, and several skip yeast entirely.
The whole category runs on a different principle from oven loaves. Thin dough plus very high, direct heat means the water inside flashes to steam and puffs the bread before the outside sets. Fast, dramatic, and difficult to ruin.
The three I make most:
- Yogurt flatbread. Flour, plain yogurt, baking powder, salt. Mixed, rested briefly, rolled thin, cooked in a dry hot skillet until it blisters and puffs. Fifteen minutes, start to finish.
- Yeasted pita or naan-style rounds. Still yeasted, but a short single rise, and they cook in a couple of minutes each. Naan traditionally goes onto the wall of a searing tandoor, and the closest home equivalent is the hottest cast iron skillet you can manage.
- Skillet soda breads. Leavened chemically rather than biologically, cut into wedges, baked or griddled the same day. A self rising flour bread is the laziest version of all, since the leavening is already in the bag.
The trip-up is heat, always. A medium skillet gives you a leathery disc that never puffs. Get the pan properly hot first, cook a test piece, and adjust. Also roll them thinner than you think, because they thicken as they cook.
Chemically leavened loaves in a pan are their own conversation, and if that’s where you’re headed, the rundown of quick bread recipes is the place to go next.
How Do You Know a Bread Recipe Went Right?
Internal temperature, then sound, then patience. Bread finishes in a range: roughly 190 to 210°F (88 to 99°C) depending on style. Lean crusty loaves want the top of that range, around 200 to 210°F (93 to 99°C), because they carry more water and need it driven off. Enriched loaves are done closer to 190 to 200°F (88 to 93°C); push them further and the crumb dries out.
An instant-read thermometer poked into the center from the side is the least dramatic and most reliable purchase you will ever make for bread.
The sensory checks back it up:
- Tapped on the bottom, a finished lean loaf sounds hollow, like a knock on a door. An underbaked one thuds.
- The crust has real color, deep gold to genuine brown, not pale beige.
- A pan loaf releases cleanly and feels light for its size.
- Cut into it after it cools and the crumb springs back when pressed. Gummy, sticky crumb that stays compressed means underbaked, or sliced too soon.
That last one accounts for more “failed” loaves than anything else. Bread continues cooking as it cools, and cutting a hot lean loaf releases the steam still setting the crumb. Give lean and whole grain loaves a full hour on a rack. Enriched breads are more forgiving, but even they improve with 20 minutes.
Storing and Reviving Homemade Bread
Room temperature, cut side down, and never the refrigerator. Bread goes stale fastest at refrigerator temperatures, quicker than it does on the counter, so the fridge is the single worst place for a loaf you plan to eat this week.
Match the wrapping to the bread. Crusty lean loaves keep best cut side down on a board or in paper or a cloth bag, which preserves the crust and costs you a day of softness. Soft sandwich and enriched breads want a plastic bag or a sealed container, which keeps the crumb tender and softens the crust, which is fine because nobody wants a crackly sandwich loaf anyway.
For anything beyond two or three days, freeze it. Slice first, wrap well, and pull out what you need; slices toast straight from frozen. Homemade bread with no preservatives moves fast, so I bake on Sunday and half the loaf goes into the freezer before it has cooled all the way.
To revive a stale loaf, run the whole thing briefly under the tap so the crust is damp but not soaked, then bake at about 350°F (175°C) for 10 to 15 minutes. The moisture rehydrates the crumb and the heat re-crisps the crust. It comes back genuinely good for a few hours, so do it right before dinner rather than in the afternoon.
One hard line: if a loaf has visible mold, throw the whole thing out. Do not cut around it. Bread is soft and porous, and mold threads run well past the fuzzy spot you can see. A loaf is a few dollars of flour, and that is not a gamble worth taking.
Worth a scrap of paper on the fridge door: each style you bake, its rise time, and its doneness temperature, scribbled once and splattered forever. Bake the sandwich loaf twice this week and the whole roster gets easier from there.
Tessa Calloway
Staff Writer
Tessa Calloway has spent twenty years cooking dinner on a weeknight clock and testing the shortcuts that survive contact with a real kitchen. She believes the best recipe is the one you can make with what's already in the house, and she has strong opinions about what actually needs to be homemade (less than you think) and what always does (dressing).