Every Cake I’ve Ruined Was Ruined Before the Mixer Turned On
The cake baking tips that matter most happen before the mixer turns on: ingredient temperature, flour measuring, oven drift, pan prep, and doneness checks.
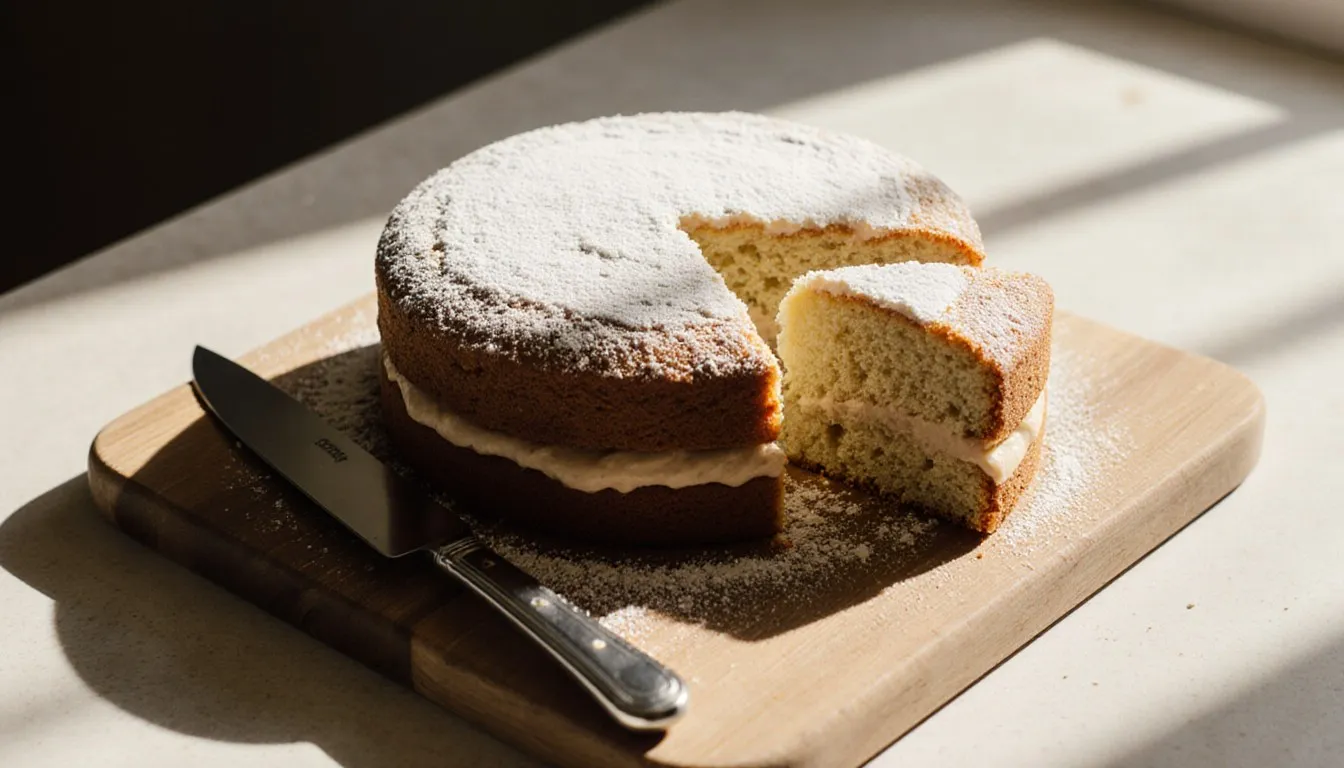
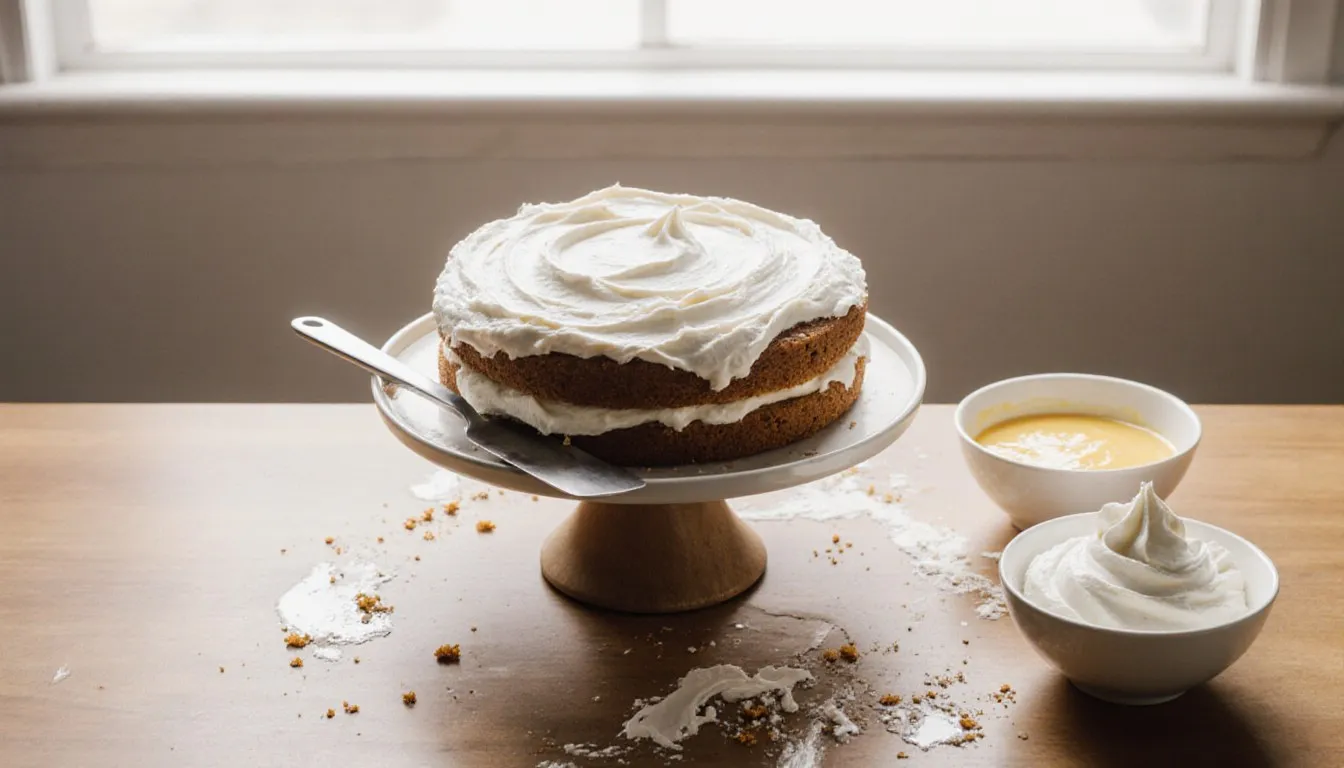
Most cake disasters are set in motion in the ten minutes before the mixer turns on. Cold butter that never emulsified, a cup of flour that was closer to a cup and a third, an oven that reads 350°F (175°C) and delivers something nearer 315°F (157°C): those three account for more sunken middles, dry crumbs, and gummy layers than every advanced technique in the book put together.
What follows is the pre-flight check I run before I start: eight small habits, all of them settled before the mixer plugs in. Roughly twenty years of Saturday birthday cakes have sanded it down to this, and it’s the reason I almost never have to rescue one. Cake is the fussiest thing in the easy dessert recipes lineup, and it’s fussy for a reason: unlike a cookie or a crumble, a cake is a structure. Diagnosing cake baking problems after the fact is its own project, and a worthwhile one, but this piece is about not needing it.
The whole check is eight items long:
- Butter and eggs sitting out, at least an hour ahead
- Flour spooned and leveled, or better, weighed
- Oven preheated well past the beep, with a thermometer inside it
- Rack in the center, pans not touching each other or the walls
- Pans greased, floured (or cocoa’d), and lined with parchment
- Pan material accounted for: dark and glass run hot
- A timer set for the low end of the range, not the high end
- A cooling rack cleared off before the cake comes out
What goes wrong with most home-baked cakes?
Temperature, measurement, and time. That’s the whole list, in order of how often they bite.
Every cake is scaffolding. You beat air into the batter, and the flour, eggs, and heat lock that air in place. When a cake fails, the scaffolding gave out somewhere. Too much flour and the crumb has no give. Not enough air beaten in and there’s nothing to lift. An oven running cool sets the batter too slowly, so the middle sinks before it firms up.
Which is good news, because every one of those failures has a cheap upstream fix. My mother’s line was that a cake can’t fix what the bowl got wrong, and she was right about that even if she was wrong about needing to sift everything three times.
Worth saying plainly: none of this means you have to bake from scratch, or that a boxed mix is a lesser cake. The oven doesn’t know where the batter came from, and every temperature and timing habit below works just as well on a mix as it does on a from-scratch butter cake.
Why do room-temperature eggs and butter matter so much?
Because cold butter won’t hold air, and cold eggs will break the emulsion you just spent five minutes building. Butter at the right temperature, around 65°F (18°C), is pliable enough that sugar crystals can cut through it and open up thousands of tiny air pockets. Butter straight from the fridge is a brick, and the sugar just skids around it.
Room-temperature butter should give slightly when you press it and hold the dent, without your finger sinking in or the surface looking greasy. If it’s shiny or slumping, it’s too warm, and too warm is its own problem: the air pockets collapse and you get a greasy, dense layer.
Give it an hour on the counter for a stick cut into tablespoon pieces, closer to two if the kitchen is cool and the butter is a solid block. Rushing it in the microwave usually gets you a stick that’s melted in three places and refrigerator-cold in the rest, which is worse than not trying.
Eggs are faster. Drop them, still in the shell, into a bowl of warm (not hot) tap water for about ten minutes and they’ll be there. This matters most in the step right after creaming, where cold eggs hitting fluffy butter make the mixture curdle and look broken. A broken batter still bakes, but it bakes tighter and heavier than it should have.
Same goes for milk, buttermilk, and sour cream. Anything liquid going into a creamed batter should be cool at coldest, never fridge-cold.
What’s the right way to measure flour for cake?
Spoon it into the cup and level it off with the back of a knife. Never dip the cup into the bag.
Most recipes are written assuming a cup of all-purpose flour weighs somewhere around 120 grams, a little over four ounces. Dip and scoop instead, and the cup packs down as it goes in, and the same cup can come out at 150 grams or more. On a two-cup cake that’s an extra half cup of flour you never meant to add, and bakers will tell you it’s the number-one culprit behind a cake that comes out dry, tough, and shorter than it should be.
A digital scale ends the argument permanently, and it’s the one piece of equipment I’d tell a beginner to buy first. Weigh the flour and every batch behaves the same way, in every kitchen, in every humidity, no matter who’s holding the cup.
If you’re working in cups: fluff the flour in the bag or canister with a fork first (it settles and compacts just sitting there), spoon it lightly into the measuring cup until it mounds over, then sweep the excess off flat. Don’t tap the cup on the counter. Don’t press it down.
And use the flour the recipe asks for. Cake flour is milled softer and lower in protein than all-purpose, which is why it gives that fine, tender, almost powdery crumb in a white layer cake, and swapping in bread flour because it was the open bag will get you something closer to a sweet roll. If you’re working out which soft flour suits a delicate layer, the differences between cake flour vs pastry flour are worth a look on their own.
How long should you cream butter and sugar?
Three to five minutes on medium-high in a stand mixer, and closer to six or seven with a hand mixer. Not thirty seconds. Not “until combined.”
Those minutes are where the cake gets its rise, and the work is mechanical. The sharp edges of the sugar crystals drag through the softened butter and cut air pockets into it, and those pockets are where your baking powder later expands. Skip the time and there’s nothing for the leavening to inflate, so you get a cake that rises weakly and settles into something closer to a pound cake.
You’re looking for three changes, and they’re all visible. The mixture goes from yellow to noticeably pale, almost ivory. The volume grows by something like half again. And the texture turns light and fluffy rather than grainy and dense, so a spoonful dropped back into the bowl holds its shape for a beat.
Set a timer, because three minutes of standing next to a mixer feels a great deal longer than it is, and almost nobody waits it out on instinct. Scrape the bowl down twice while you’re at it, because the butter at the bottom never sees the beater otherwise.
Then add the eggs one at a time, beating just until each one disappears. This is where a rushed batter falls apart: dump all four in at once and the emulsion breaks.
Do you need to prep the pan every single time?
Yes. Every time, including the pan that claims to be nonstick, and especially for anything you plan to turn out and frost.
The sequence takes ninety seconds. Grease the pan thoroughly with softened butter or shortening, getting into the corner where the side meets the base, which is where cakes weld themselves in place. Add a spoonful of flour, tilt and tap the pan until the inside is coated, then knock the excess out over the sink. Cut a round of parchment to fit the base and press it into the greased bottom.
For a chocolate cake, dust with unsweetened cocoa powder instead of flour. It does the same job and it doesn’t leave a pale gray film on the outside of the finished layer, which is the sort of small thing that separates a cake that looks homemade from one that looks like an accident.
The parchment round is the part people skip, and it’s the part that saves you. A greased and floured pan gets most cakes out most of the time. Parchment gets every cake out every time, and a torn-out layer cannot be fixed with more frosting no matter what the internet tells you.
One more thing on pans: use the size the recipe calls for. Batter meant for two eight-inch rounds spread into two nine-inch rounds bakes thinner, faster, and drier, and it will be done well before your timer says so.
Is your oven really the temperature it says it is?
Probably not, and this is the cheapest fix on the whole list. A standalone oven thermometer costs less than a decent cake pan, hangs from a rack, and tells you what’s happening inside instead of what the dial believes.
Home ovens drift, and they drift more as they age. Being off by 25°F (about 14°C) is unremarkable, and a bigger gap than that is common enough that it’s the first thing I check when someone tells me their cakes keep sinking. An oven running cool sets the batter too slowly, so the structure never firms up in time and the middle falls. An oven running hot sets the outside edges before the center has finished rising, and you get a domed, cracked top with a raw seam underneath.
Once you know your oven runs, say, 20 degrees cool, you just set it 20 degrees higher and get on with your life. Write the offset on a strip of masking tape and stick it inside a cabinet door, because you will not remember it in March, and neither will anyone else who uses that oven. Check it again once a year, and after any move, since the drift widens as the element ages.
Preheating deserves the same suspicion. The beep tells you the air has reached temperature, not the oven walls and racks, and those hold most of the heat that bakes the cake. Give it another fifteen to twenty minutes after the beep before anything goes in.
And once the pans are in, leave the door shut for the first two-thirds of the bake. Every peek dumps a rush of cool air onto a cake that’s still liquid in the middle.
Where should the rack sit, and does the pan material matter?
Center rack, always, unless a recipe specifically says otherwise. That’s where the heat is most even and where the cake is furthest from both the bottom element and the top of the oven.
Give the pans room. They shouldn’t touch each other or the oven walls, and there should be an inch or two of clearance all around for air to move. Two pans crammed side by side end up with a pale inner edge and a dark outer one. If you’re baking three or four layers and they won’t fit on one rack with space, bake in batches. The batter will hold on the counter for the twenty minutes it takes.
Pan material changes the math more than most people expect. Recipes are written for light-colored aluminum, which throws heat back and gives you a layer that’s the same pale gold at the rim as it is an inch in. A dark metal pan soaks that heat up instead, and you find out about it the moment you flip the layer over: a bottom two shades past brown, with a crust firm enough to feel through the parchment. Glass is the sneaky one. It takes its time coming up to temperature and then keeps baking on the counter for a good while after you’ve pulled it, so a cake that read perfect on the toothpick can dry out while you’re washing the bowl. With either pan, drop the oven 25°F (about 14°C) and start checking a solid five minutes before the recipe says to. I have pulled more scorched dark-pan layers than I care to admit, and every one of them was fixable at the dial before the batter ever went in.
Beat-up, scorched pans bake unevenly for the same reason: the dark patches are absorbing more heat than the bright ones. If a pan is warped or so dark you can’t tell what color it started out, replace it.
How do you know when a cake is done?
Start checking at the low end of the range, and use more than one signal.
The toothpick or thin skewer test is the standard, and it works: inserted into the thickest part of the center, it should come out clean or with a few dry crumbs clinging to it. Wet batter means keep going. Streaks of gloss mean keep going.
Three more signals confirm it, and on a deep or dark pan they’re worth reading before the toothpick goes anywhere near the middle. A done cake has pulled very slightly away from the sides of the pan, leaving a hairline gap. The top springs back when you press it lightly in the center instead of holding your fingerprint. And the smell changes: raw batter smells sweet, and a finished cake smells toasted and eggy in a way that’s unmistakable once you’ve noticed it twice.
If you like numbers, an instant-read thermometer in the center of a butter cake will land somewhere around 200°F to 210°F (93°C to 99°C) when it’s set. That’s a useful cross-check on a deep pan where the toothpick has a lot of cake to travel through.
Treat the recipe’s time as a range, not an instruction. Between oven drift, pan color, and batter depth, two people baking the same recipe can be eight minutes apart and both be right. Start checking five minutes before the earliest time given, and check again every three minutes after that.
What’s the right way to cool a cake before you frost it?
Ten minutes in the pan on a wire rack, then turn it out onto the rack to finish, and don’t go anywhere near it with frosting until it’s cool to the touch all the way through, base included.
That first ten minutes lets the structure firm up enough to survive being flipped. Leave it much longer and steam condenses between the cake and the pan, and the bottom turns sticky and starts to sog. Run a thin knife around the edge, put the rack over the pan, invert the whole thing, lift the pan away, peel off the parchment, and flip the layer right side up on the rack.
The wire rack matters because air has to reach the bottom. A cake cooling on a plate steams itself from underneath.
Frosting a warm cake is the classic heartbreak. Buttercream melts into a slick and slides off, and even a stable frosting will tear the surface of a cake that hasn’t set. Give a standard layer an hour and a half to two hours, and if you’re pressed, an hour on the rack followed by twenty minutes in the fridge firms things up nicely. The frosting and icing technique itself is its own skill, but none of it works on a cake that’s still warm.
If you’re splitting a layer horizontally, a long strand of unwaxed dental floss beats a knife. Mark the height with a few toothpicks, wrap the floss around the cake at that line, cross the ends, and pull. Clean, level, no dragging.
Can cake layers be made ahead and frozen?
They can, and for a layer cake with any occasion attached to it, this is the move I’d recommend over almost anything else here. Wedding-cake bakers have sworn for decades that freezing does something kind to the crumb, the theory being that the moisture redistributes as the layers thaw and a frozen-and-thawed layer comes out a touch more tender than one frosted the same afternoon. Take that for what it is, a workroom belief rather than a proven one, and note that nobody claims it hurts the cake. Splitting the baking off from the frosting is the practical half of the appeal, since you’re never doing both on the day people are arriving.
Cool the layers completely, and I mean completely, because any residual warmth turns into ice crystals. Wrap each layer in plastic wrap, twice, pressed flat against the surface with no air pockets, then in a layer of foil or a zip-top freezer bag. Label it with the date and the flavor, because in three weeks every wrapped disc in your freezer looks identical.
They’ll keep well for about three months. Past that they’re still safe indefinitely at 0°F (-18°C), but the texture starts drifting and the flavor picks up whatever else is in your freezer.
Thaw them still wrapped, on the counter for two to three hours or in the fridge overnight. Leaving the wrapping on lets the condensation form on the plastic instead of on the cake. Unwrap only when they’re fully thawed and at room temperature.
Frost from slightly chilled layers if you can. A cold, firm cake sheds far fewer crumbs into the frosting, which is how you get a clean-looking cake without a professional’s hands.
Run through the eight items in the list above once, in order, before you crack the first egg, and you’ll find the whole thing takes about five minutes and prevents most of what a troubleshooting guide exists to fix. Next time you have a birthday coming, bake the layers on a weeknight when nobody’s watching and freeze them. The morning of, all you’ve got left to do is frost, which is the fun part anyway.
Tessa Calloway
Staff Writer
Tessa Calloway has spent twenty years cooking dinner on a weeknight clock and testing the shortcuts that survive contact with a real kitchen. She believes the best recipe is the one you can make with what's already in the house, and she has strong opinions about what actually needs to be homemade (less than you think) and what always does (dressing).