Tastessence has come up with some easy-to-practice methods of drying pears. Try out these methods at home, allowing all the members of your family and friends to bask in sheer delight.
Tip to Dry
✦ Always pick pears which are free of any insects or brown stains, and are less juicy, to have perfectly dried pears.
✦ Choose a very sharp knife to slice the pears, because the thinner you cut, the better it gets.
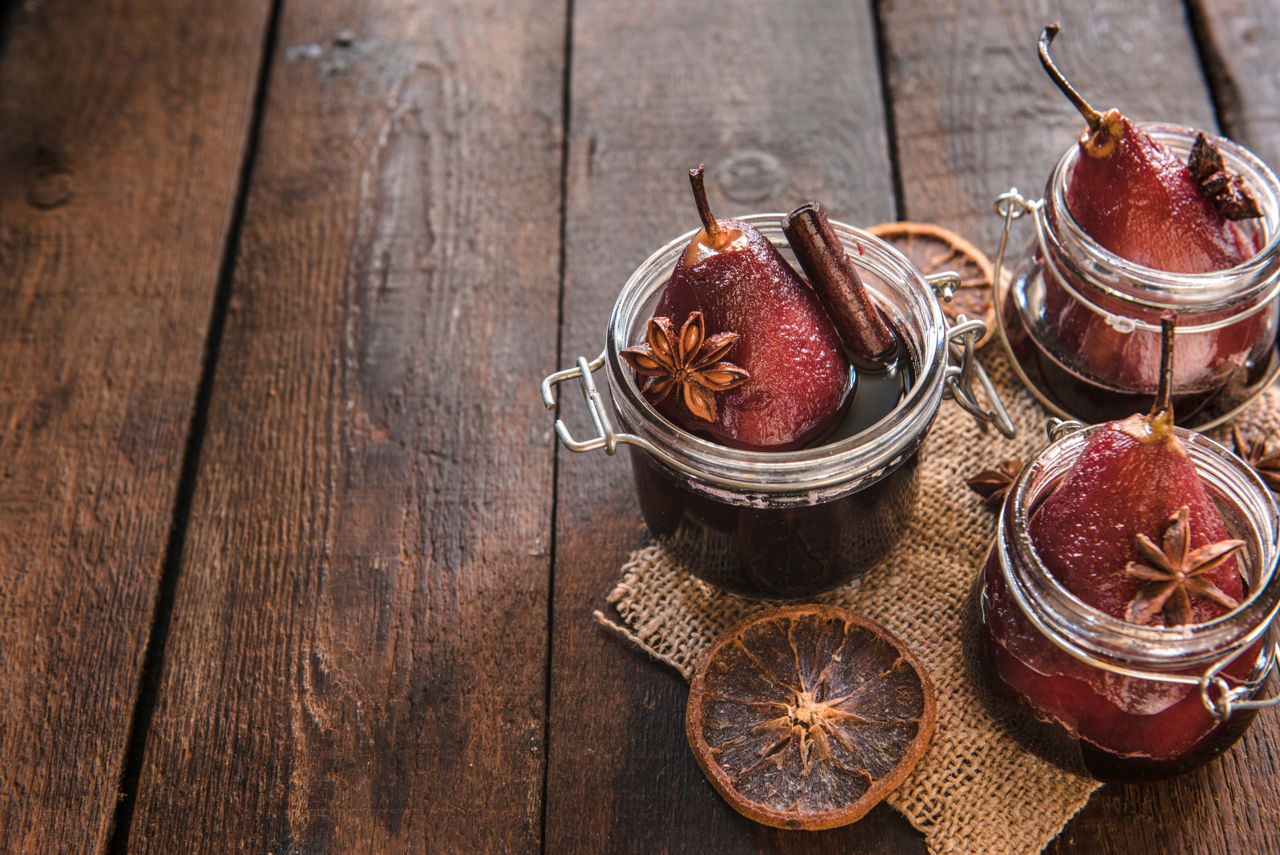
Dry fruits are a common indulgence for one and all. There is hardly anyone out there who would be reluctant to have a nibble or two from a handful of those shrunken fruits lying on the table. The nutritional value of dried pears is not a subject of big debate. It is well-known that pears are laden in nutrients and a rich source of Vitamin C. Apples, bananas, grapes, cherries, and apricots, all can be dried and be absolutely delicious.
In the upcoming sections, we shall see the different ways of drying pears at home, which are also one of the most sought-after winter fruits.
Ways to Dry Pears at Home
Things to Keep Handy
# Fresh pears
# Sharp Knife
# A corer
# Few drops of oil
# A baking sheet
At the beginning…
# Choose perfectly ripe pears, which are not soggy. They must be firm.
# Wash, rinse, and clean the pears.
# You can peel off the skin of the pears. But this is entirely optional. You can leave the skin as it is too, if it is very thin.
# Core the pears and cut them in thin slices, so that they look like thin like flattened donuts.
# Soak the slices of the fruit in lemon or orange juice; this helps in retaining the natural color of the pears even after being dehydrated. It doesn’t make them dull and brown. This process can be done for about 20 minutes.
Now you can actually start the process of dehydrating the pears. You can choose from any of the methods given below. to enjoy these delicious dried fruits.
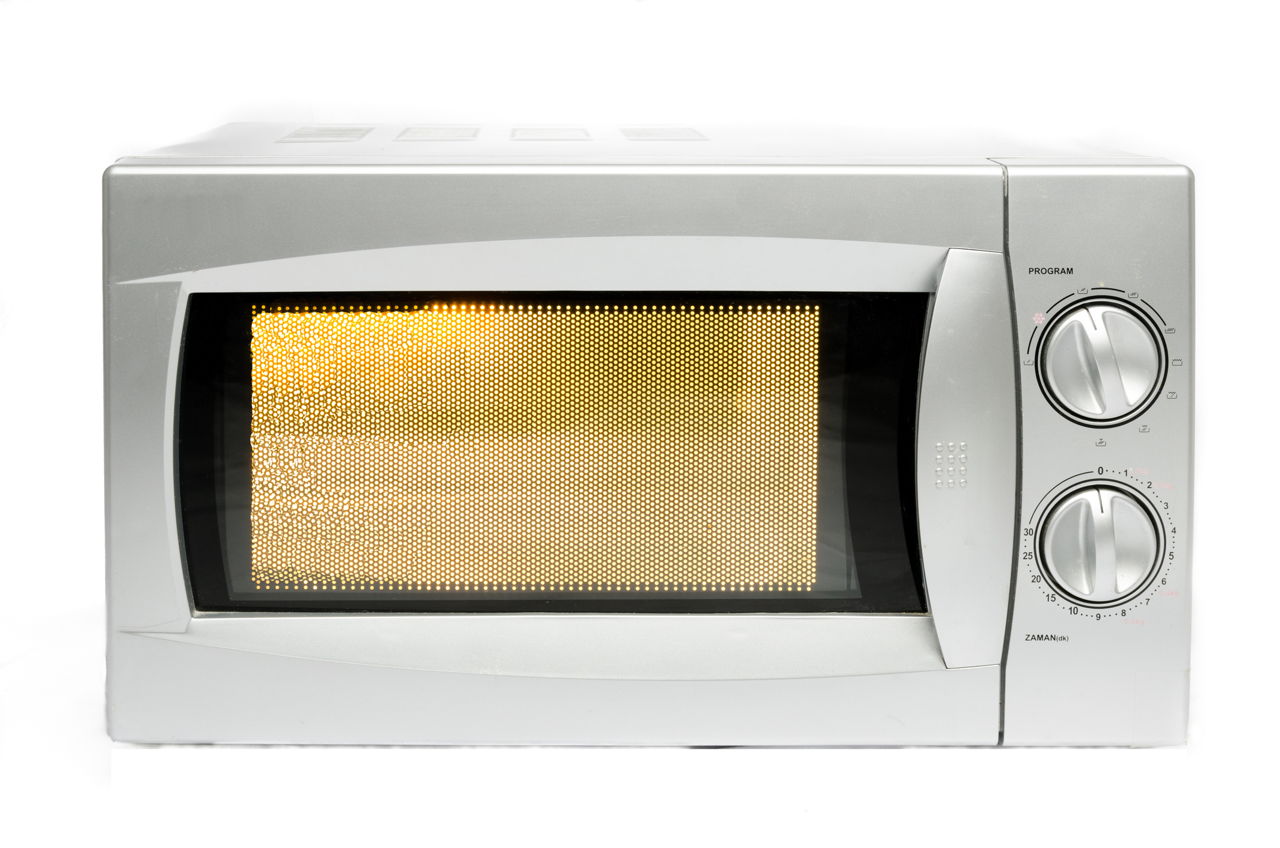
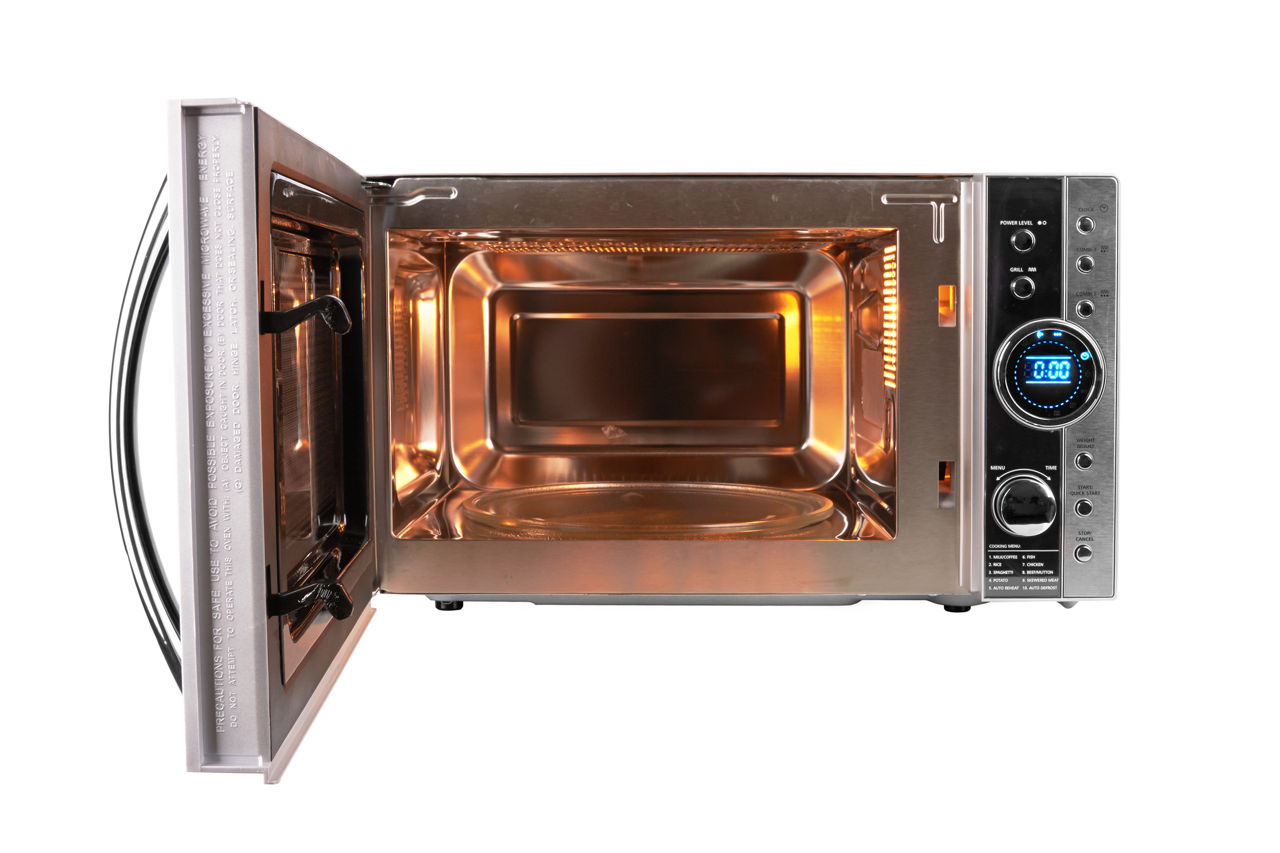
How to Dry Pears Using an Oven
Approximate Time: 4 – 6 hrs
Well, before we plunge into the process of making dried pears, we must also simultaneously dispel the notion that one can only use a dehydrator in order to dry fruits. In this dried pears recipe, we shall make use of the oven and to have perfectly dried pears, which can be eaten as an all-time snack, or to be used as an ingredient in other food items.
# Step 1
First the oven needs to be prepared. You can preheat the oven at the lowest temperature available.
# Step 2
The oven racks need to be greased with sufficient oil so that the slices don’t stick to it, or don’t get burnt. Alternatively, a baking sheet could be spread on the rack.
# Step 3
Now, place the slices in such a way that they are lined up on the prepared rack very delicately. The slices mustn’t overlap each other, as this will inhibit their even dehydration.
# Step 4
After the estimated time, the slices must be taken out and set aside for cooling. They must be stored in a dry container to retain the crunchiness.
Note: The preparation time is subject to change depending on the thickness of the slices. After half of the total preparation time, the slices must be flipped.
How to Dry Pears Using a Dehydrator
Note: All the steps given above in the ‘At the Beginning’ section are to be followed.
Approximate Time: 4 – 6 hrs (depending on dehydrator model)
# Step 1
The slices are to be placed on the tray of the dehydrator.
# Step 2
Turn on the dehydrator, and let the process continue for about half the estimated time, following which the temperature of the dehydrator may be reduced, and the dehydration process is continued for the remaining time. The temperatures may be adjusted according to the directions of the dehydrator.
# Step 3
The pears are now dried and ready to be eaten or stored.
Simply Sun Dry
Note: All the steps given above in the ‘At the Beginning’ section are to be followed.
Approximate Time: 3 – 4 days
Perhaps, the old and tested technique of sun-drying fruits is any day better than using heavy equipment and electricity to do the job. This process can only be employed in areas which are dry and arid.
# Step 1
The slices are placed on a tray which is lined with cheesecloth.
# Step 2
The tray is placed in direct sunlight during the day.
# Step 3
The slices need to be flipped at least once a day to get dried properly.
# Step 4
The tray needs to be brought indoors at nightfall.
These were some easy Do It Yourself methods to dry pears at home. The methods are not at all tedious, and retain the quality of the fruit, as they do not involve the addition of any artificial additives and preservatives.